How do you only load the CAD layers you need into the model? There are always thousands of layers in a Civil CAD file and you must have experienced the painful moments of turning off the layers you don’t need in a Civil drawings after you bring it into Revit. I recently discovered this little icon that is a life saver! I wonder why it takes me so long to discover this trick!? For those who already know, fabulous! For those who don’t, I wanted to share this little trick with you to make your life easier.
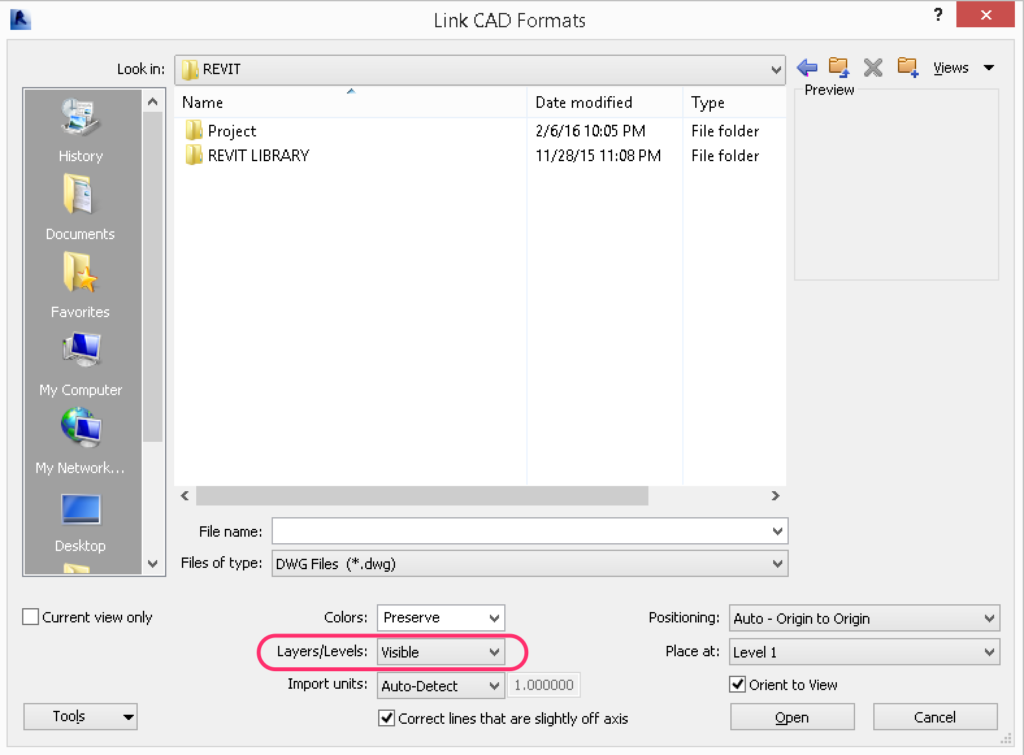
So when you are in the link CAD file window, there is this little selection icon Layers/Levels. By default, it is set to All – it will bring all the layers from the CAD file into the model. But if you set it to Visible – it will only bring in the layers that is currently “Turn on” (Visible) in the model space of the CAD file. Since you are only bringing what you need into the model, it dramatically reduced the number of layers brought into the model, making the file load so much faster!
I love this feature, I wished I have discovered it earlier. Here you go, I hope you find it helpful too!
That’s a great tip! Thanks 🙂
I find this tip very helpful Veng, thanks