Revit offered very limited ability to customize the Revision Schedule. I received an email from blog reader Jayant if there is a way to work around this limitation.
Hi,
how to add scheduled fields in revision properties . because in out standard sheet format we have drawn by, chk by, and app. by fields , so i am not able to add fields other than 6 fileds, pl. help me ,or can i rename issue to field ?
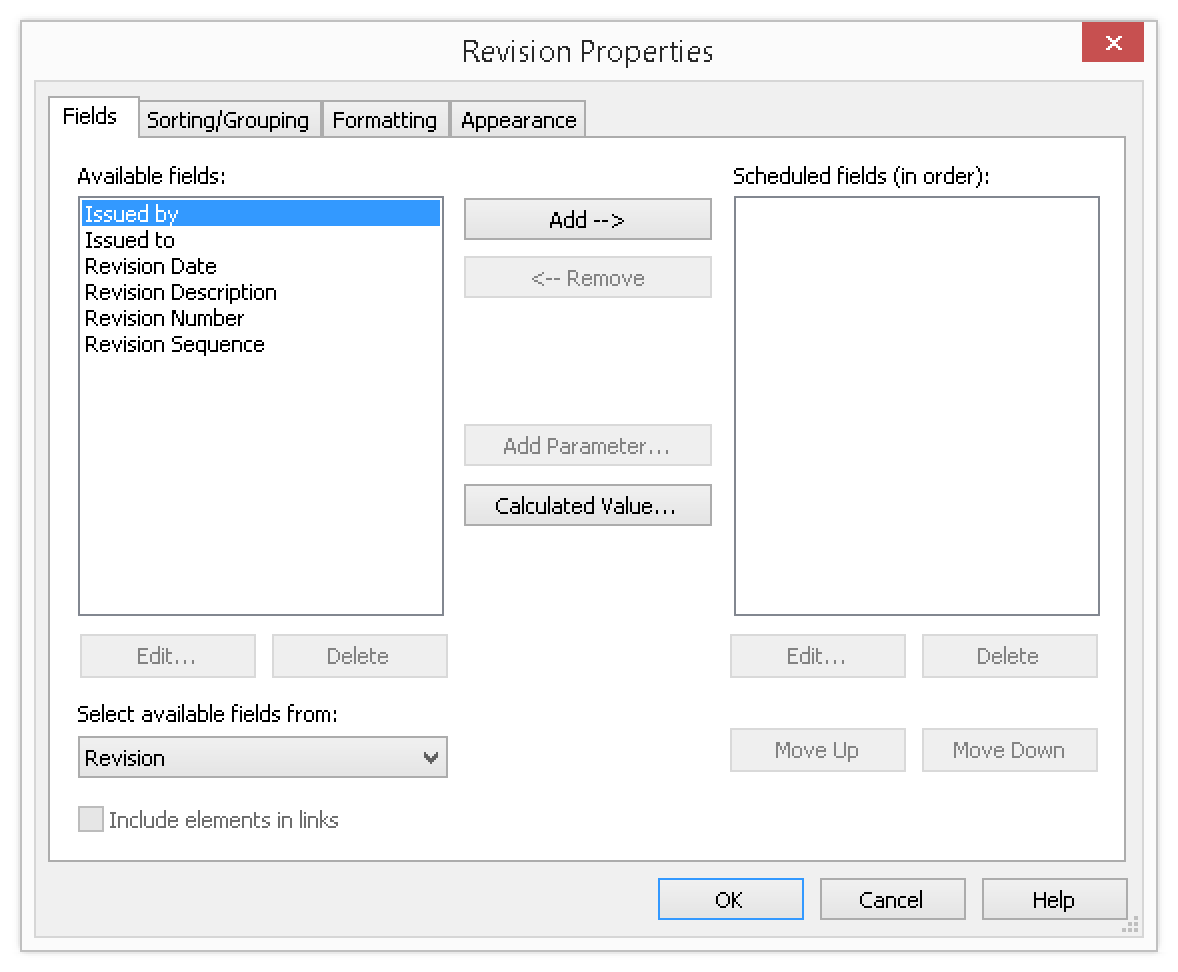
There are only 6 fields available to choose from in the Revision Properties box. I have written a blog post before on how to take advantage of it to Customize the Revision Number. To take it one step further, instead of using these fields as it is intended, we can also rename these fields to fit your project need.
Customize Titleblock
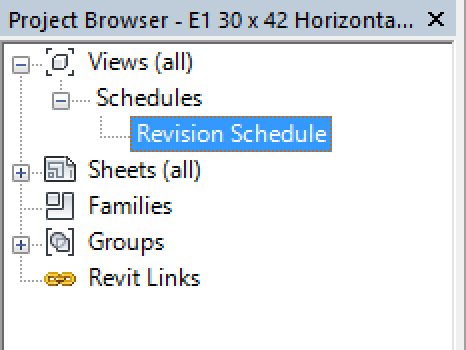
With your Titleblock family opened, go to Project Browser, expand the Views > Schedules > select Revision Schedule.
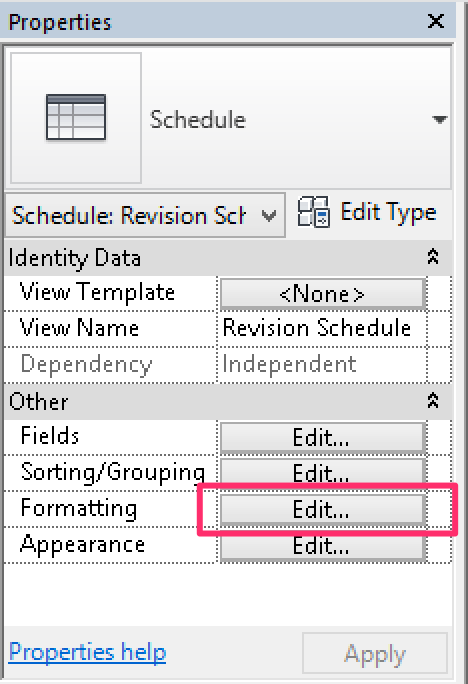
Next go to Properties > Other > click the Edit button next to Formatting.
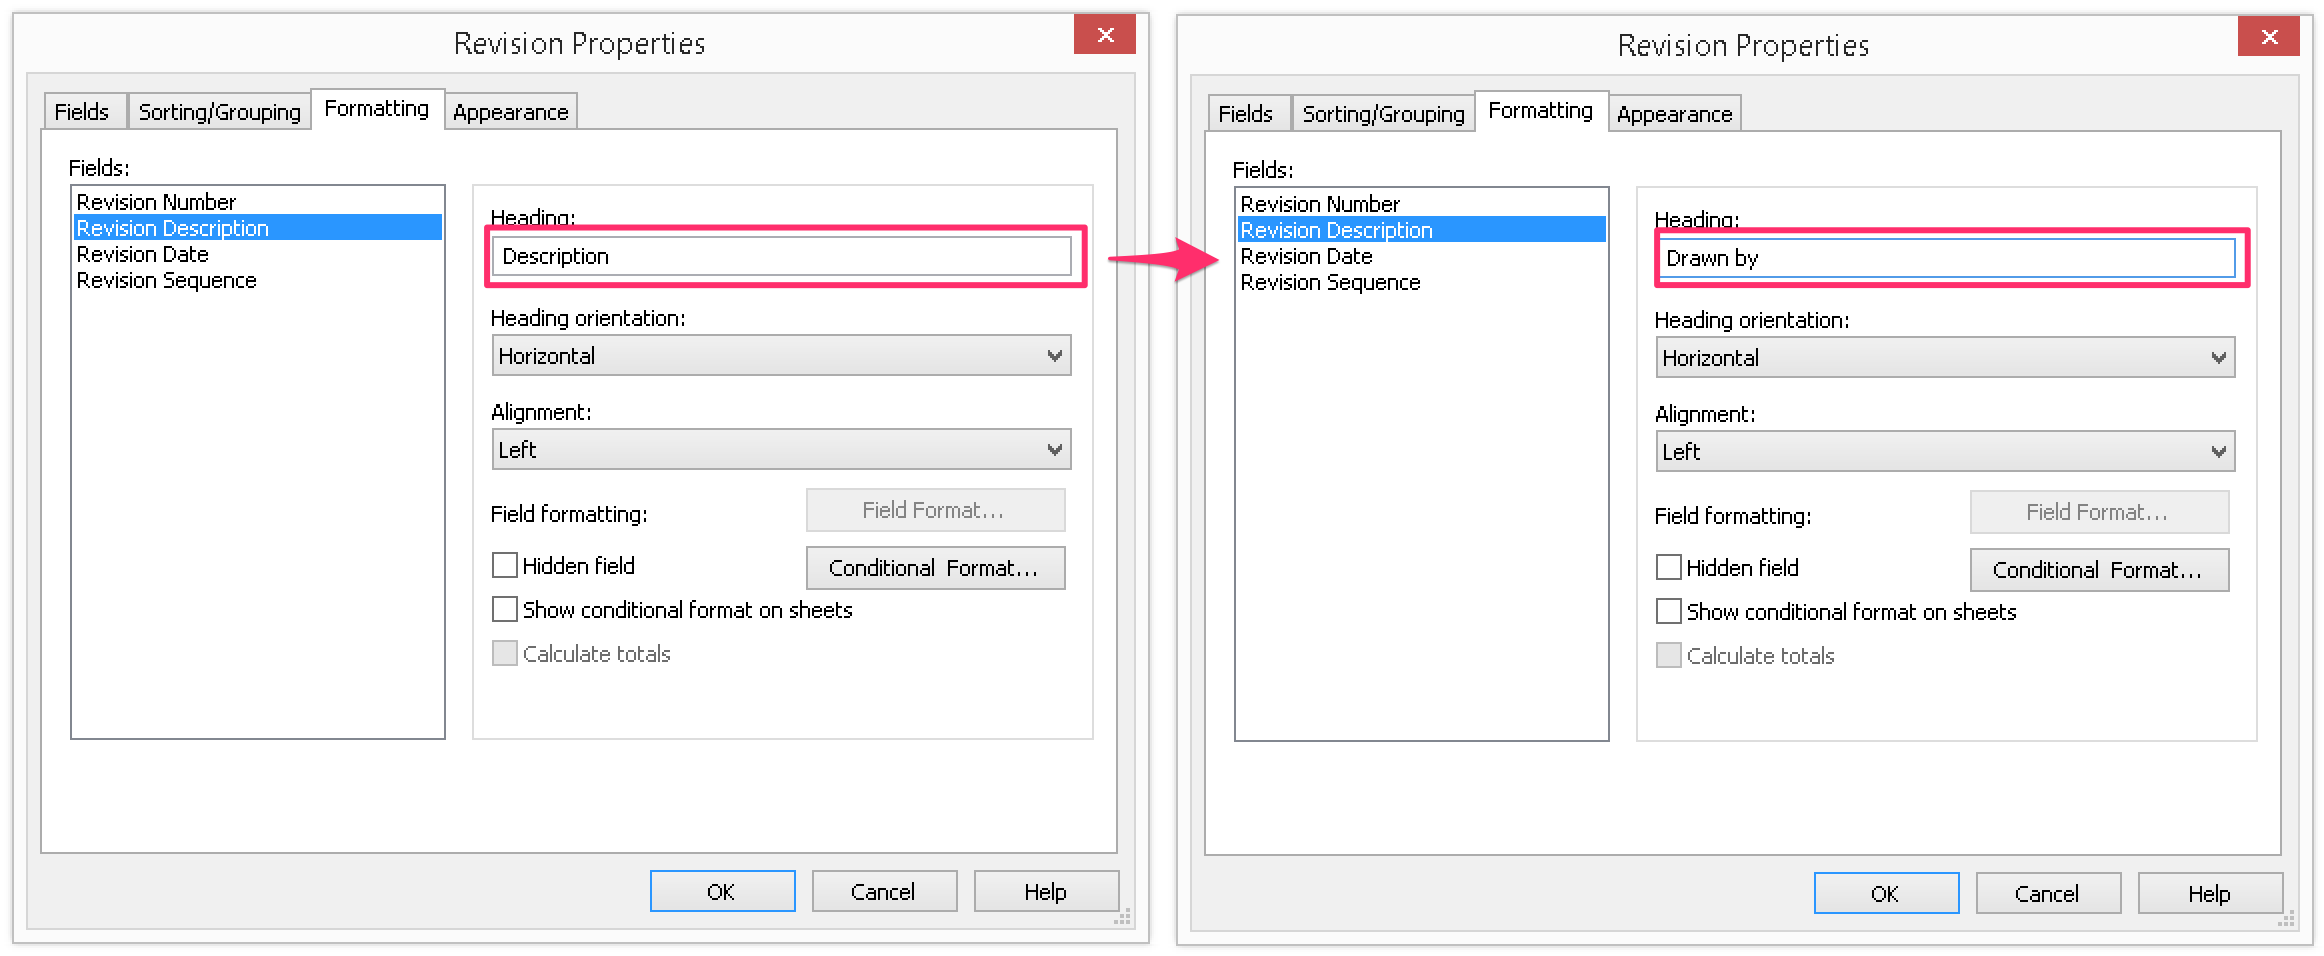
Select the field you want to rename, input a new name in the Heading box. (In this example, I selected the Revision Description field and changed it to Drawn By.) Click OK when you are done.

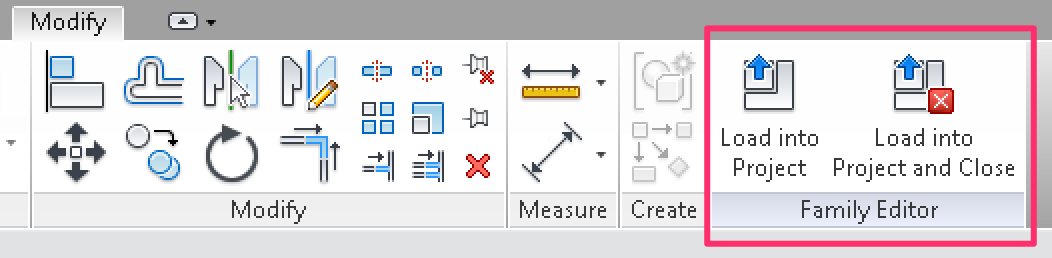
Now, save the family and load it back to your Project file.
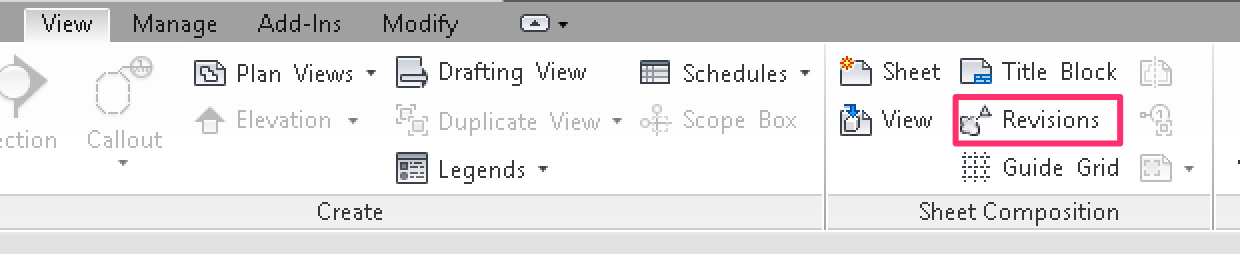
Edit Revision in the Project
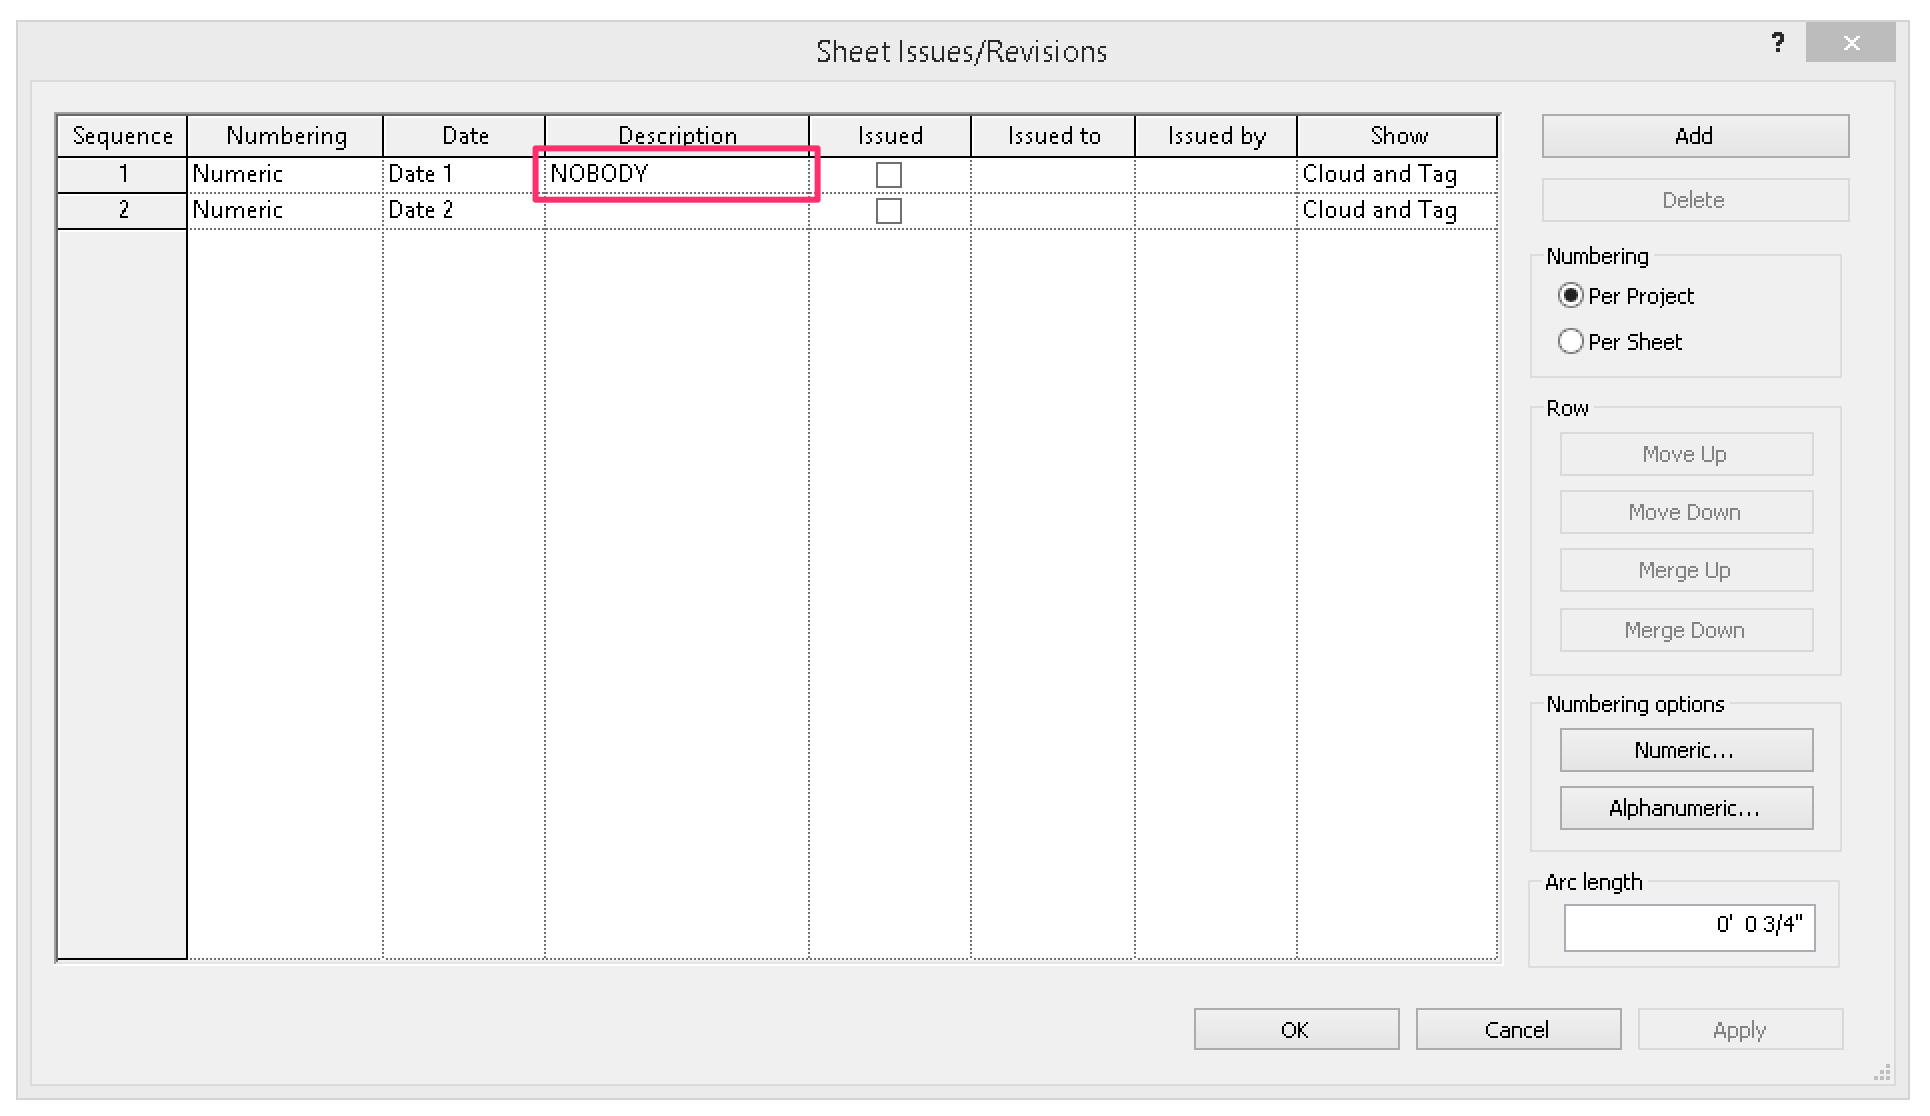
Open up the Revisions, go to the Description column and type in the data you wanted to appear in the Drawn by column. Click OK when you are done.
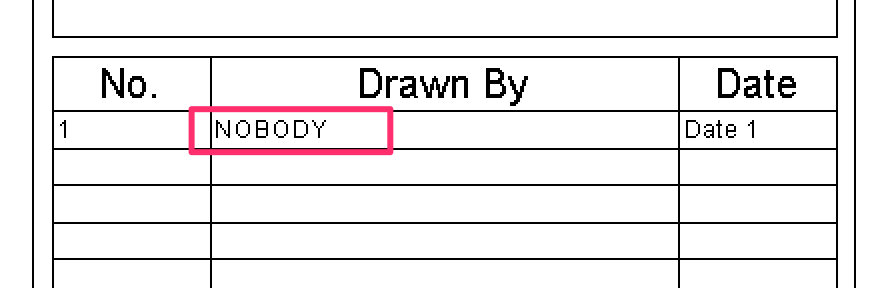
The Revision Schedule are now customized! Simple!
Good information. Thank you. I would really like to see the revision schedule updated so we wouldn’t have to use this workaround.
Ric
Thank you for this information. It is very useful.
Great info, and your previous article about customizing revision schedules was super helpful as well. Question:
Do you know of a way to customize the lines in the revision schedule table? I’m trying to have only the horizontal lines shown between rows, (no vertical lines between cells). I can override the settings to do it within the titleblock family, but it doesn’t work on subsequent revisions when they are added within a project the titleblock is loaded into. Any thoughts?
JEN,
You can do this by amending the sheet, once the sheet family is open, select the revision schedule in project browser (single click) then select ”Appearance” in the properties dialog. In the graphics section, if you deselect ”grid-lines” it will take off the vertical lines, ”outline” controls the horizontal lines.
hope this helps
How to customize revision schedule table, I want to add approved by field to the table but it seems that is not applicable even if add calculated value to it. Once I put the title block into my project and go to sheet issues/Revisions, the default fields provided by Revit only showing. Can you please advise?
Ed, the revision schedule is pretty much limited to the 6 parameters available in the Revision Properties. Your work around os to use the Issue To, Issue By or Revision Description Parameters as your Approved by field. These 3 parameters I mentioned allows you to input any text, you just have to rename your schedule header to Approved by in the title block and you are good to go.
Hi Learning revit,
Thank you for the website. i would like to get more learning info also to update my self into revit and Bim. i think this website are awesome to further my carrier into BIM
kind regards
harbir