Working in an Architecture firm, it is very common to provide several design options of a space at client’s request. In AutoCAD, it is pretty easy to duplicate copies of the floor plan in the same .dwg file and create all the options. However, we cannot duplicate plans like AutoCAD in Revit, Revit has a tool specially design for this purpose – Design Options.
There are 2 ways to access Design Options:
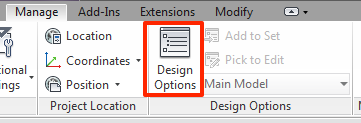
- From the Manage tab > Design Options (under Design Option Panel).
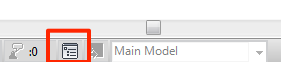
- At the bottom bar of the Revit window, click the icon.
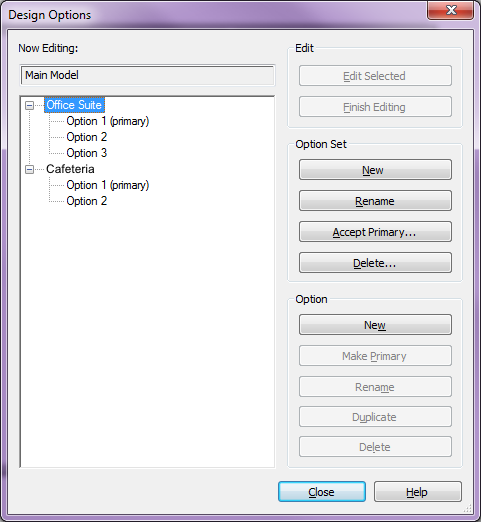
With the Design Options dialog box open, you will notice the dialog box is divided into 2 parts. The white box on the left presents all the design options you have in this project. The right side are the editing tools use to create the design options: Edit, Option Set and Option.
Edit – gives you the control to edit each option. I rarely use this because there is a quicker way to edit option, see section below “Switch between Options”.
Option Set – A folder that holds all the options for a particular area of interest. For example, one Option Set for “Office Suite” and another Option Set for “Cafeteria”.
Option – These are the options create within the Option Set. For example, within the “Office Suite” set, we have Option A, B & C furniture layout design.
Note: You can have multiple Option Set in the same view, but each view can only have one Option.
Setting up Design Option
First, we need to setup all the Option Sets and Options needed, then assign the elements in the current model to the appropriate option. An analogy is to setup folder and blank files as a place holder first, then add elements to the blank file later.
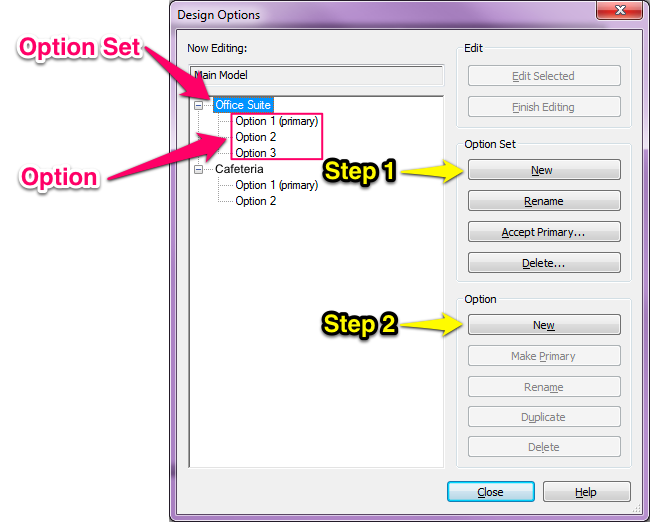
Step 1: Under Option Set, click “New”, this will create our first set of Design Options.
Step 2: Under Option, click “New”, this will create our first design option in the set. You can create as many Option as needed within the same set.
Note: Revit will not allow you to create an Option until you have created an Option Set.
Repeat the above steps as necessary to create more Option Set and Options.
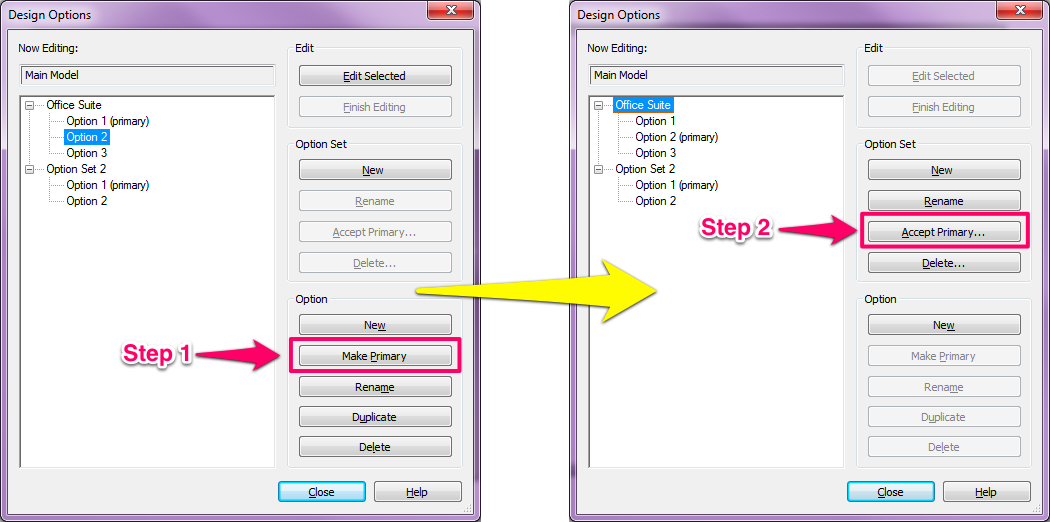
The Option with the word (primary) next to it is called Primary Option. This is the default design that appears in your model. You can select any option to be the Primary by clicking Make Primary (under Option, see image above).
Adding Elements to Option
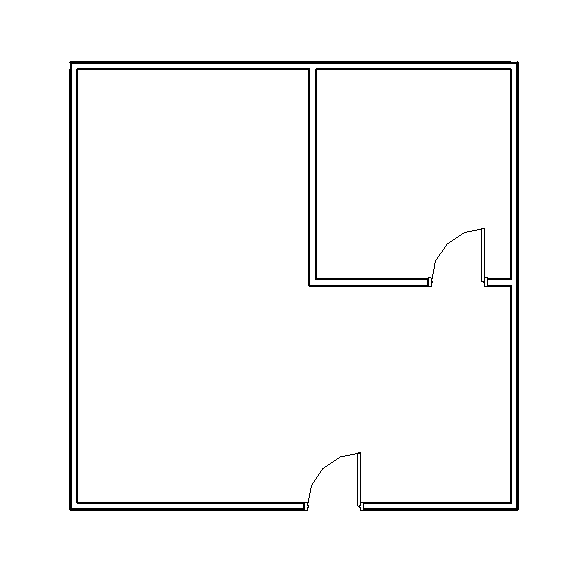
In this example, I have an Office Suite with a room inside. I need to present several options showing different size of the room. Assume I have already perform the above steps and to setup the Option Set and Options required.
Select all the elements (walls, doors, furniture, etc.) you plan to move around in the area of interest (in this case, I select the 2 walls and door of the room).
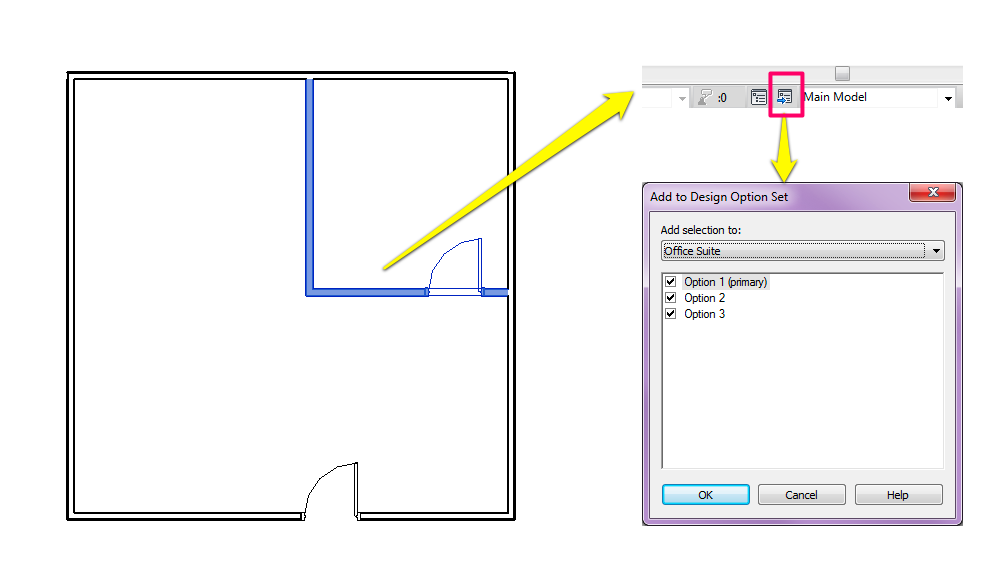
Click on the icon at the bottom bar of Revit window. The “Add to Design Option Set” will pop up. The pull down menu lets you select the Design Option Set you want to place the elements to. The check box below allows you to select which option the elements should go. If all the boxes are checked, it will copy the selected elements to all the Options. (In this case, I checked all the boxes and copy the walls to all 3 options.)
Note: Anything you don’t plan on changing does not need to be included into the Option.
All 3 options should look identical now since I have checked all the boxes. Always reserve Option 1 for the original layout. Therefore, we should always check at least 2 Options in the “Add to Design Option Set”.
Switching between Options
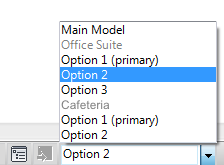
You are now good to go to create all the design options you need. To switch between Options for editing, I find it easier by clicking the “Pull Up” menu at the bottom bar of Revit window.
By default, the model is set to show the Primary Option. To setup View for each option create View like you normally does. Then go to Visibility Graphics (VG) > Design Options tab to change the option you want to display in the View.

Finalize Selection
Once your client has selected an option, you are ready to “Accept” an option. First, set the Option selected as Primary, then select the Option Set and click Accept Primary. Revit will prompt you to confirm your action. Once an option is accepted, Revit will delete all the other Options from your model. Therefore, make sure you are 100% certain before you take this final action. There is no “undo” once the action is executed.
I FOUND THET LESSON VERY HELPFULL TODAY. THANKS, EWA