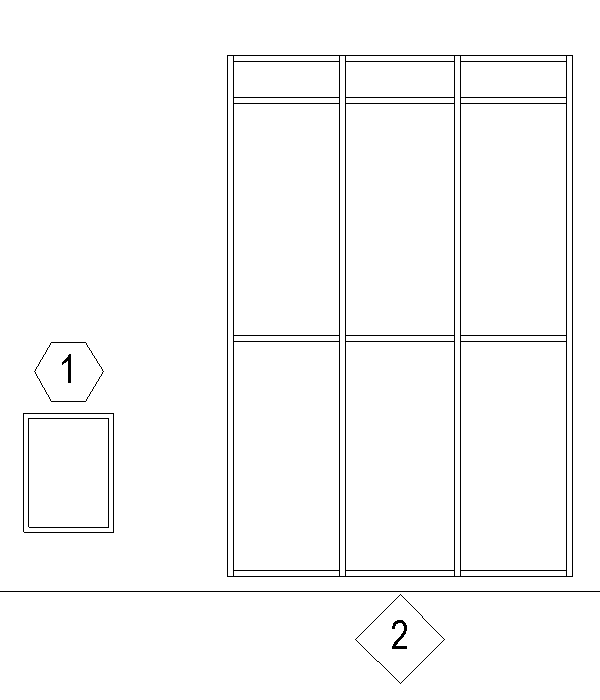
I received a request from a blog subscriber asking how to create a window tag for the curtain wall. Curtain wall is a “wall” family. When we tag the curtain wall, Revit will automatically give us a wall tag symbol (The diamond symbol is the wall tag symbol, the hexagon is the window tag symbol). Of course, we don’t want to use the wall tag symbol to tag our curtain wall. A smart reader like you will probably wonder if we need to create a new annotation family. You are absolutely correct! We need to create a new wall tag family to disguise as curtain wall tag. I know some people get nervous editing family. I am going to show you how to create a super easy annotation tag. I hope your fear will go away after this tutorial or maybe getting more comfortable editing/creating family. This annotation is a good family to keep in your Family library for future projects. Let’s get started!
I have created a window (left) and a curtain wall (right) side by side for quick reference. I quickly tag them and you will see Revit gives me a window tag on the window and a wall tag on the curtain wall. Keep in mind that all tags are associated to the Family Categories**, i.e., a window tag can only be used to tag window, an equipment tag can only be used to tag equipment. With this concept in mind, in order to make the curtain wall tag looks identical to the Window tag, we need to create a new Wall Tag symbol to disguise as window tag.
Create Curtain Wall Tag
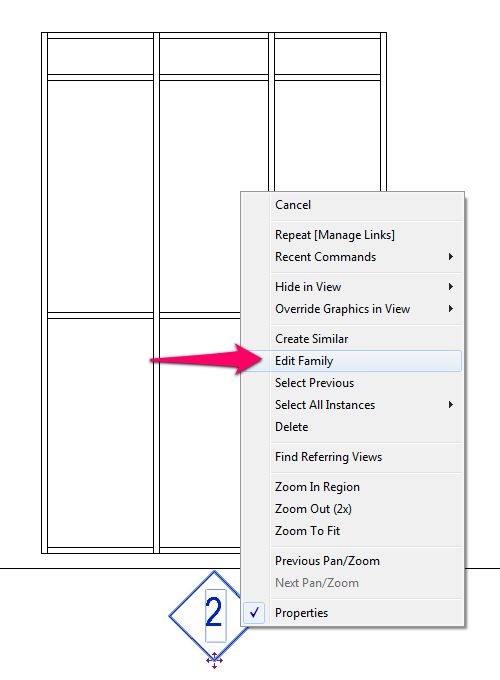
In the Revit model, select the Wall tag, right click > Edit Family. Once the family opens up, do a quick “Save as” and called it CW tag (or whatever name that make sense to you). Always do a “Save as” before any editing, this is to prevent you from accidentally overwritten the original family.
Copy line work from Window Tag
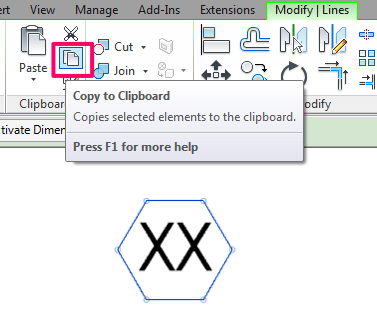
We are going to perform a copy and paste exercise. Go back to your project. This time we select the window tag, right click > Edit Family to open up the Window tag family. Select the hexagon line work, then go to Modify | Lines > Copy to Clipboard (under Clipboard panel). Close this family when you are done, no need to save this family.
Paste the Window tag line work to the Curtain Wall tag
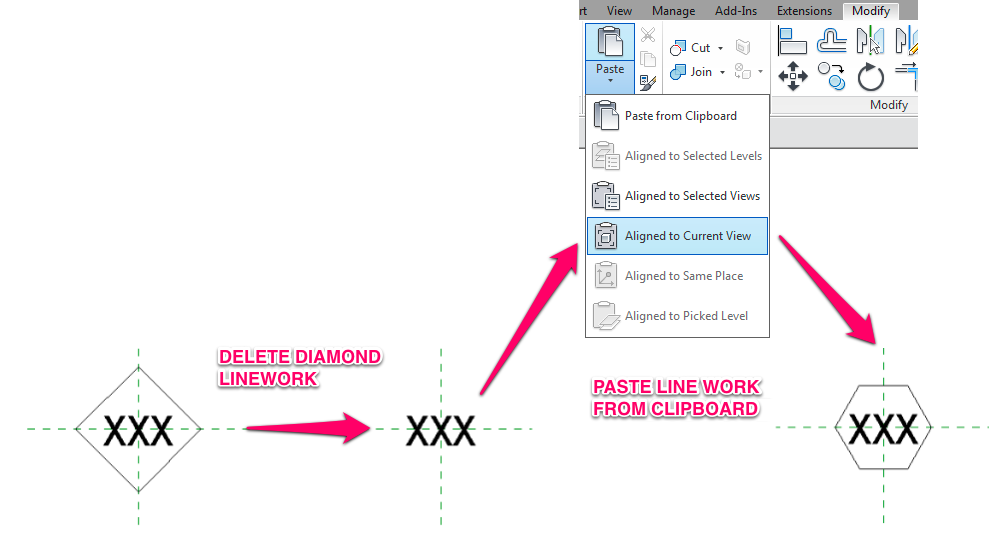
Switch back to the CW tag family. Delete the diamond shape line work, then go to Modify > Paste > Aligned to Current View. This will paste the hexagon line work we copied earlier to here. Now your CW tag should looks identical to the Window tag symbol.
Save and Load Family
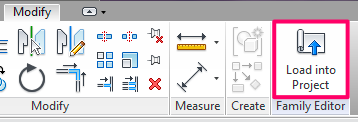
Save the CW tag family and load it into the project.
Replace with Curtain Wall tag
Once loaded, selected the Wall tag, from the Properties menu, select the newly created CW tag.
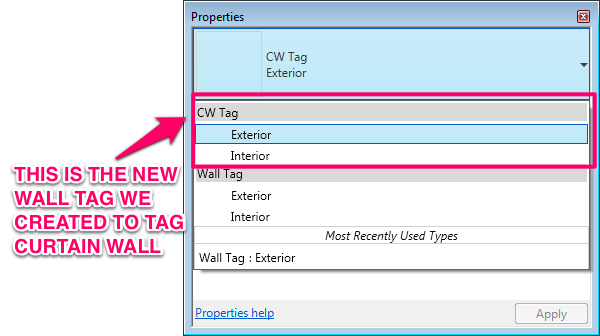
That is it! Simple! Creating family is not always a painful process, like the one above, it is easy! I hope you enjoy this simple tutorial.
Quick Note: Notice my CW tag has 2 types for my selection: Exterior and Interior. This is because the original wall family tag I used to create this CW tag already has the Exterior and Interior type defined in the family. In the next post, I am going to show you how to create 2 sets of symbols within the same CW family for tagging interior and exterior curtain wall. Stay tune.
** How to check which Family Category does the family I am editing belongs to?
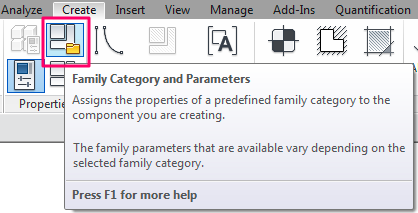
With the family opened, go to Create tab > Family Category and Parameters.
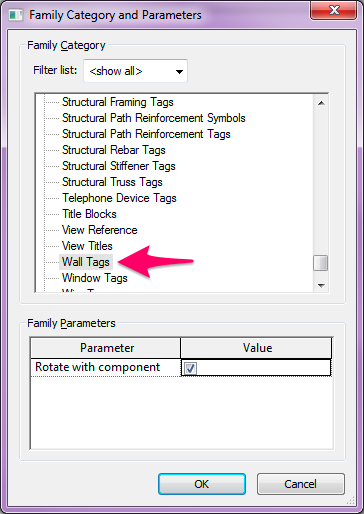
The Family Category and Parameters window opens, the Family Categories is highlighted in grey.

Thanks for the tutorial Veng. It’s really appreciated!